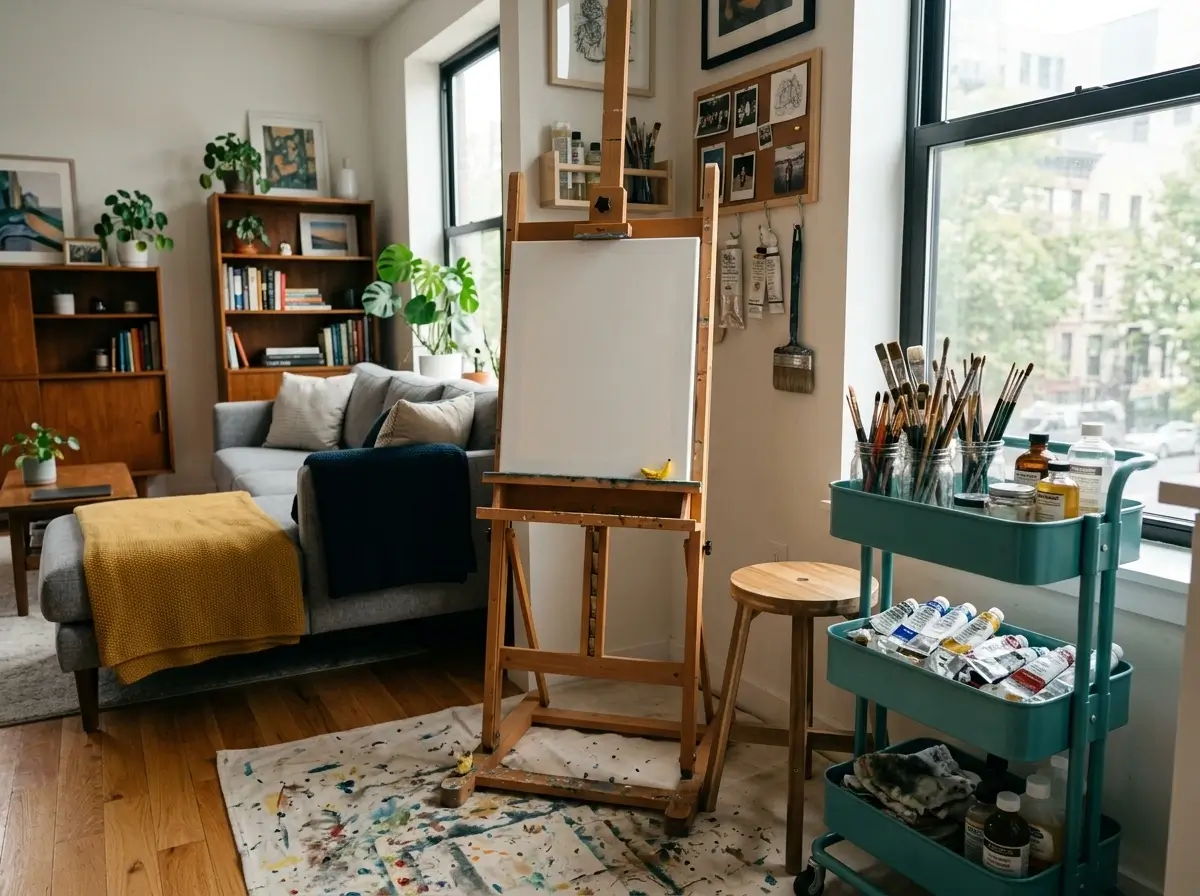
Creating a small apartment art studio can feel like a high-stakes balancing act. You need a dedicated space to let your creativity flow, but one spilled jar of solvent or a rogue splash of acrylic can mean saying goodbye to your security deposit forever.
A common mistake renters make is treating their art space exactly like a standard home office.
But artists have entirely different requirements—from color-accurate lighting and proper ventilation to heavy-duty floor protection and worksurfaces that need to shift dynamically.
Fortunately, you don’t need a spare bedroom or a landlord’s permission to build a highly functional creative zone.
Whether you work with oil paints, watercolors, or clay, this guide covers how to choose the right corner, protect your rental’s surfaces, organize your supplies without drilling a single hole, and manage the hidden challenges of apartment art-making.
1. Choosing the Best Corner for Your Small Apartment Art Studio
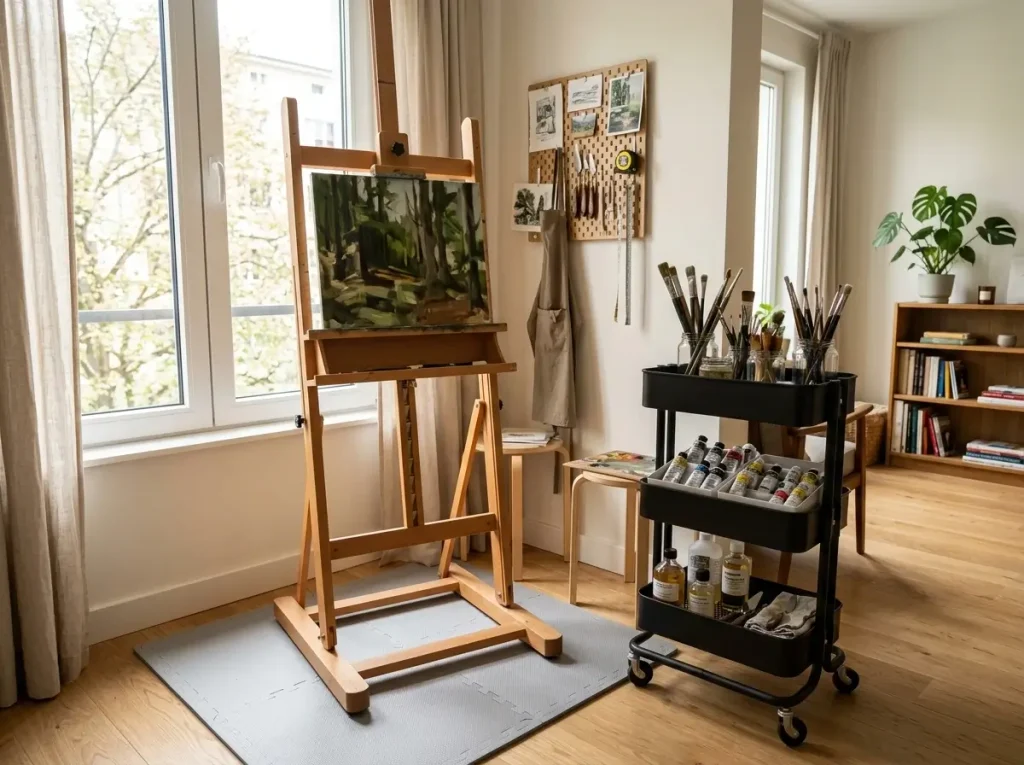
When you are squeezed for tight square footage, it is incredibly tempting to just shove an easel into whatever empty nook you can find. But creating a highly functional small apartment art studio requires much more strategic thinking than setting up a standard desk.
You are not just placing a piece of furniture. You are establishing a workspace that handles wet media, requires specific ambient conditions, and demands a physical buffer zone for accidental splatters.
Before you unroll a canvas or unpack a single tube of paint, take a hard look at your floor plan.
The safest and most practical place for your small apartment art studio is almost never the center of a room.
Corners naturally contain the chaos, giving you two solid walls to serve as a physical barrier against rogue paint drops, flying clay dust, or errant charcoal smudges.
Chasing the Right Light and Water
Lighting can absolutely make or break your painting process. Whenever possible, hunt for a room with a north-facing window.
Why north-facing? It provides consistent, indirect daylight throughout the entire day. This means your carefully mixed colors will not look drastically different between a morning session and a late-afternoon session.
Direct sunlight, on the other hand, creates harsh glares on wet canvas and can actually cause acrylic paints to dry far too quickly on your palette.
Next, critically evaluate your proximity to a water source. If you are constantly washing brushes or changing watercolor cups, you do not want to carry dripping containers across a fully carpeted living room.
Setting up your small apartment art studio near the kitchen or bathroom minimizes the severe risk of staining the rental’s flooring during transit.
Measuring Your Active Studio Footprint
A common mistake renters make is measuring their creative space based only on the folded size of their equipment. An active, working easel requires a completely different footprint than a static computer desk.
You need physical room to step back, visually evaluate your work, and swing your arms without knocking over a glass jar of solvent. Typically, a 4×4 foot corner is the absolute minimum viable space for a standing artist to move comfortably.
By tucking this active footprint into a corner rather than floating it in the middle of your living room, you drastically reduce the risk of a roommate or guest bumping into wet canvases.
Once you have claimed this dedicated corner, you might want to visually block it off from your main living area.
If you need help with that execution, checking out renter-friendly ways of separating room functions can keep your messy art zone effectively hidden from houseguests.
Studio Location Must-Haves
To make your decision easier, run through this quick checklist before you permanently commit to a corner for your small apartment art studio:
- Indirect lighting: Is there a window nearby that avoids harsh, direct afternoon sun?
- Traffic flow: Is the space completely out of the main walking path to prevent accidental bumps?
- Water access: Is the route to the nearest sink short and ideally uncarpeted?
- Mess containment: Does the layout provide two intersecting walls to act as a natural splash guard?
- Stepping room: Can you take at least two full steps back from your easel without hitting the couch?
Finding a spot that successfully checks these boxes will save you endless frustration once the creative process begins.
2. Renter-Friendly Floor and Wall Protection for Wet Media
One of the most intimidating aspects of building a creative space in a rental is the underlying fear of property damage. Setting up a small apartment art studio involves serious, practical risks if you regularly work with wet media.
Acrylic paint dries into a stubborn plastic film, oils can leave permanent, un-removable grease stains, and fine clay dust embeds itself deeply into standard rental carpets.
Furthermore, the cheap laminate floors commonly installed in many apartments are incredibly susceptible to bubbling and warping from accidental water and solvent spills.
Protecting the Floors
You cannot just throw down an old bedsheet or a flimsy plastic drop cloth and expect your deposit to survive.
Thin fabric will not stop a knocked-over jar of turpentine from soaking straight through to the carpet pad, and thin plastic sheeting bunches up into a tripping hazard the moment you step back to look at your work.
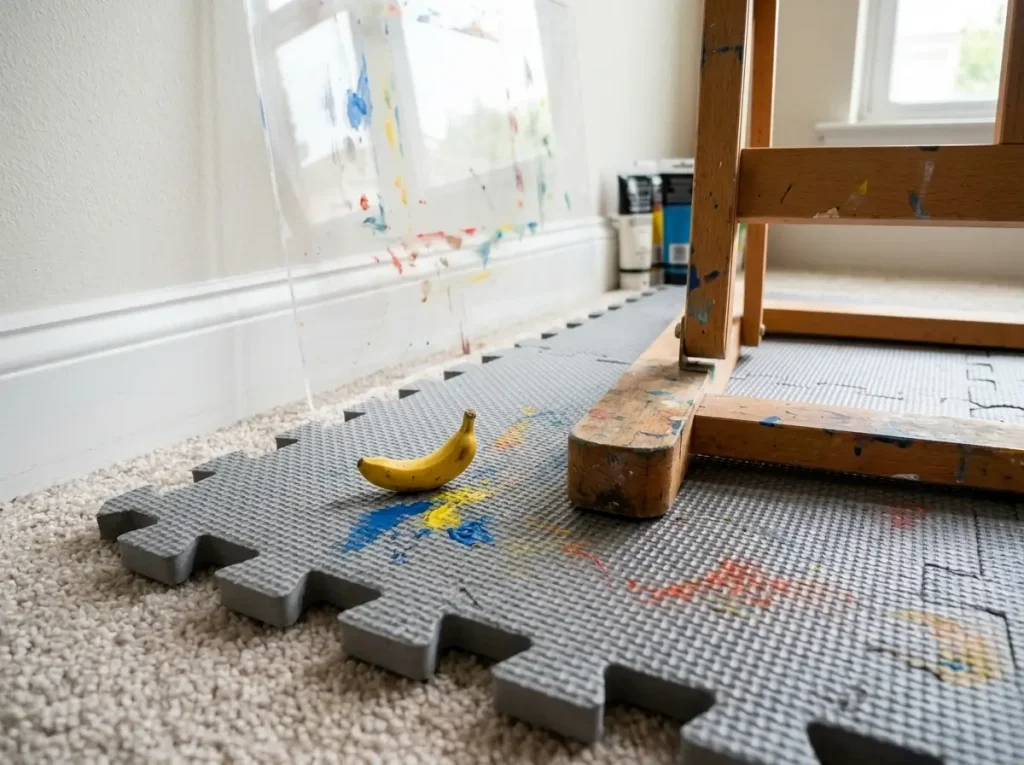
To truly protect the footprint of your small apartment art studio, you need a heavy-duty, stationary, and waterproof barrier. The best temporary solution is installing interlocking EVA foam floor mats under your entire easel zone.
These are the thick, rubbery puzzle-piece mats often used in home gyms or kids’ playrooms.
Why are interlocking EVA foam mats the gold standard for renters?
- Zero adhesives: They lock together entirely by friction, meaning no sticky residue or tape is left behind on the floor.
- Impermeable barrier: They are completely waterproof, stopping highly fluid solvents and paint spills dead in their tracks.
- Cushioned standing: They provide excellent ergonomic relief for your knees and back during long, upright painting sessions.
- Stress-free clean-up: If a glob of heavy-body paint drops, you can aggressively wipe it off the foam without worrying about scratching wood or tearing carpet fibers.
Shielding the Walls
Splatters do not just travel straight down; they go out. When you vigorously wash a brush, furiously mix media, or flick a heavily loaded palette knife, the surrounding walls become immediate collateral damage.
In a small apartment art studio, your worksurface or easel is usually positioned mere inches from the drywall to save space.
To prevent permanent stains, apply removable, renter-friendly contact paper or specialized peel-and-stick vinyl to the lower half of the walls surrounding your workspace.
Just ensure you test a small, hidden patch behind a door first to guarantee the adhesive won’t peel the landlord’s cheap paint when it is time to remove it.
Alternatively, you can lean rigid, clear acrylic splash guards against the baseboards directly behind your easel. These transparent panels intercept flying paint and charcoal dust without making your creative corner feel like a dark, plastic-wrapped quarantine zone.
A common mistake renters make is underestimating how stringently property managers inspect for localized damage upon move-out.
A single permanent oil stain on a bedroom carpet or a speckled wall can easily cost you hundreds of dollars in withheld funds.
Mitigating accidental property damage with these temporary measures is absolutely vital for maintaining your renter security deposit protections. Returning the property to its exact original state is the only reliable way to ensure you get your money back when it is time to move.
Ultimately, a proper defense strategy gives you the psychological freedom to actually create. When you know your small apartment art studio is wrapped in a protective, temporary shell, you can finally stop stressing about the floors and start focusing completely on your canvas.
3. Compact Easels and Worksurfaces That Disappear
When outfitting your small apartment art studio, the biggest mistake you can make is immediately shopping for standard office furniture. A bulky, traditional drafting table might look incredibly professional in a catalog, but it will instantly consume your entire floor plan.
Fine artists have vastly different physical requirements than digital workers or general hobbyists.
While traditional desks are great for maximizing craft spaces, fine artists often require vertical worksurfaces that can be folded away at a moment’s notice.
The key to maintaining your sanity—and your living space—is prioritizing furniture that physically disappears when you are done painting for the day.
Choosing the Right Folding Vertical Easel
If you work primarily with oil paints or heavy-body acrylics, you need an easel that is sturdy but impermanent. Tabletop easels seem like a smart space-saving idea, but they force you to sit hunched over a kitchen table, which is terrible for your posture and limits your arm mobility.
Instead, look for a compact, folding H-frame easel. Unlike massive studio easels that feature heavy crank systems and wide square bases, a folding H-frame provides the rigid vertical support needed for large canvases but can collapse flat against a wall when not in use.
If your small apartment art studio is truly limited to a tight corner, an A-frame (or lyre) easel is another excellent option.
The tripod design allows the rear leg to tuck neatly into the 90-degree angle of your room, utilizing dead corner space effectively. When your session is over, the back leg folds flush, allowing you to slide the entire easel behind a sofa or under a bed.
Rolling Carts and Drop-Down Desks
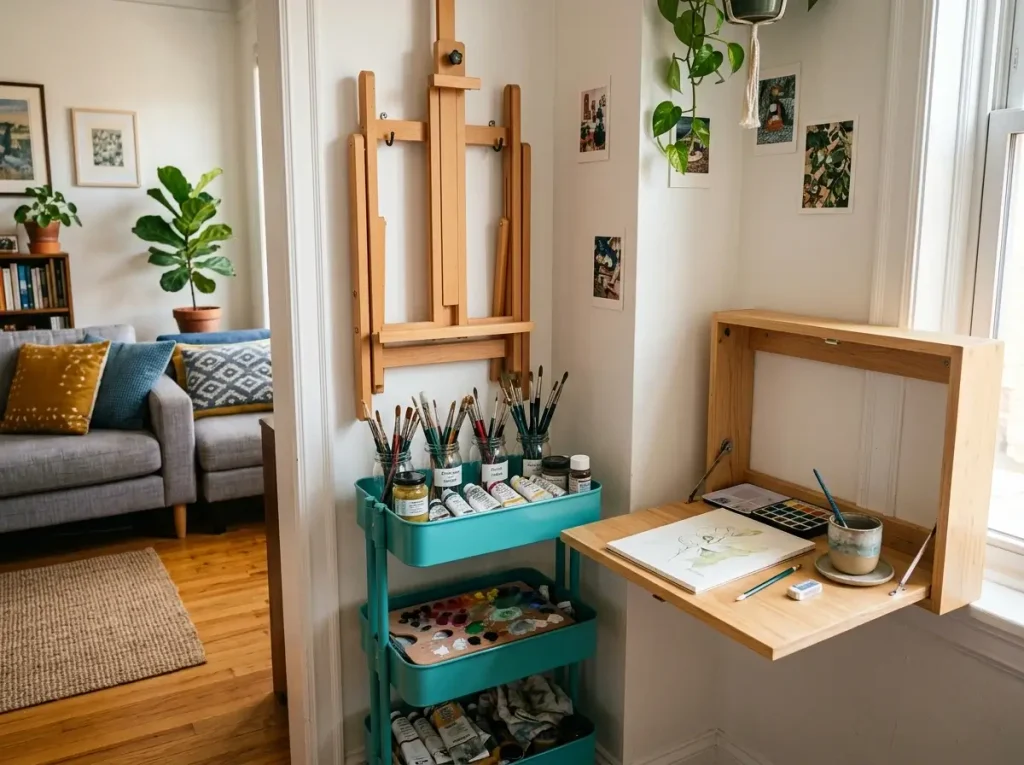
For watercolorists, illustrators, and sketch artists working in a small apartment art studio, a massive flat table is rarely necessary. If you need a horizontal surface for wet media that flows, consider installing a wall-mounted, drop-down desk.
These clever, renter-friendly fixtures attach securely to wall studs and fold out into a rigid desk just large enough for a 9×12 watercolor block and a palette. When folded up, they protrude only a few inches from the wall, instantly returning the square footage to your living room.
Finally, the ultimate secret weapon for any small apartment art studio is a multi-tiered rolling metal cart. Rather than cluttering a desk with jars, brushes, and mediums, a rolling cart acts as your mobile command center.
You can dedicate the top tier to your wet palette and active brushes, the middle tier to sorted paint tubes, and the bottom tier to heavy bottles of solvent or varnishes.
Because it is on wheels, you can pull it right next to your dominant hand while working, and effortlessly roll it away into a closet when company comes over.
4. Organizing Paints, Brushes, and Solvents Without Drilling
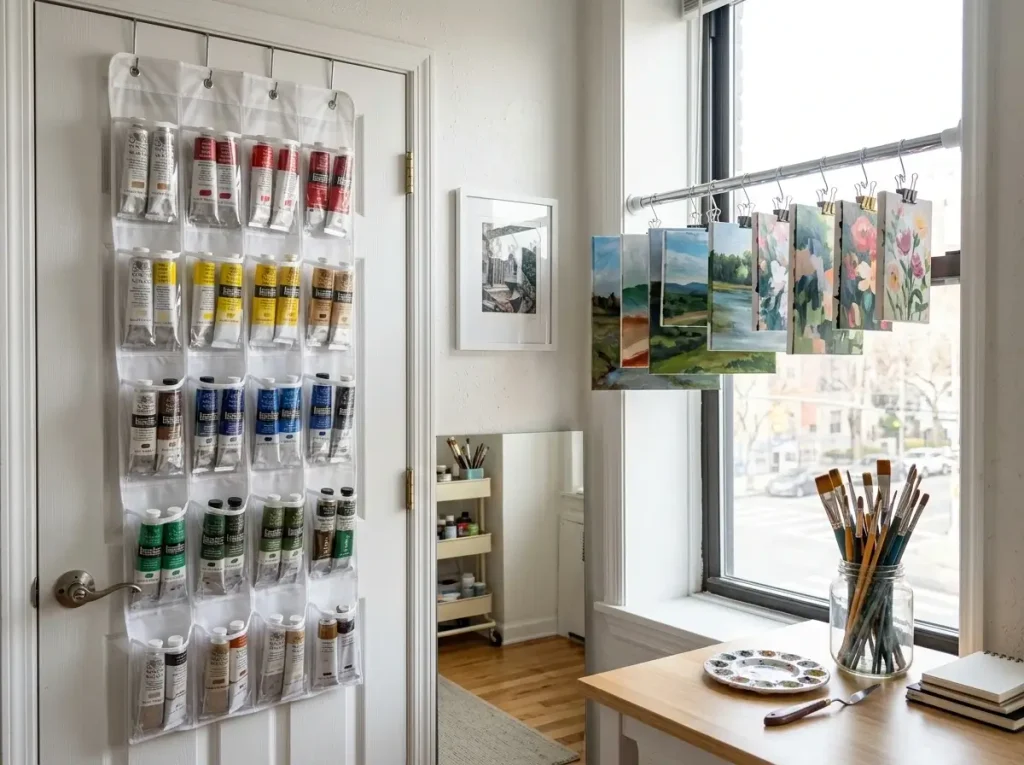
A small apartment art studio is entirely different from a digital workspace because physical fine art requires hundreds of tiny, individual tools.
Between tubes of acrylics, assorted hog bristle brushes, palette knives, and glass jars of mediums, your worksurface can disappear under a mountain of clutter in a matter of days.
The primary challenge for renters is achieving functional storage without drilling permanent anchor holes into the landlord’s drywall. Fortunately, you can maximize your vertical space and keep your supplies within arm’s reach completely damage-free.
Vertical Canvas Storage and Color Sorting
One of the most frustrating aspects of oil painting in a small apartment art studio is finding a safe place for wet canvases to dry. Leaning them against the wall takes up valuable floor space and risks permanent paint transfers to the rental’s baseboards.
Instead, look to heavy-duty tension rod shelving. Originally designed for renter-friendly closet expansions, these spring-loaded systems wedge firmly between two walls or inside a deep window frame.
They create an instant, floating drying rack for lightweight canvases without requiring a single screw or nail.
When it comes to organizing your actual colors, over-the-door hanging organizers are incredibly effective.
A clear plastic shoe or jewelry organizer hung over the back of a nearby door allows you to sort dozens of paint tubes by color family.
You can see exactly how much titanium white you have left at a glance, and it completely removes the messy, time-consuming phase of digging through a cluttered shoebox.
For smaller items, try upcycling small glass jars. You can attach a heavy-duty, removable adhesive magnetic strip to the underside of an existing rental cabinet or bookshelf.
Stick the metal lids of the jars to the magnet, and you have instant, floating storage for charcoal sticks, erasers, and binder clips that easily twists off when needed.
Sorting Toxic Materials
Organization in a small apartment art studio isn’t just about aesthetics and saving space; it is fundamentally about safety. If you work with oil paints, you are likely storing highly flammable mediums, varnishes, and raw linseed oil.
These materials cannot be casually tossed into a cardboard box or stored near a heating vent. Before you organize your wet media, you must read the backs of your tubes and bottles for art material safety labeling standards.
This helps you immediately identify which supplies require isolated, temperature-controlled, or strictly fire-safe storage.
A common mistake is throwing solvent-soaked or oil-soaked rags into an open, dry plastic trash can. As linseed oil and certain alkyd mediums dry and oxidize, they produce heat, which can actually lead to spontaneous combustion in tight spaces.
Always store your used painting rags in a specialized, air-tight metal container.
Quick Tip: Preserving Your Brushes Never leave your brushes resting bristle-side down in a cup of water, as this will permanently warp them. Once washed and gently reshaped, always store your brushes either completely flat on a towel or standing perfectly upright in a heavy glass jar. This prevents the delicate ferrules from bending.
By utilizing tension rods, door backs, and proper safety protocols, your small apartment art studio remains brilliantly organized and perfectly safe, all while keeping your rental agreement intact.
5. Lighting Your Small Apartment Art Studio for Color Accuracy
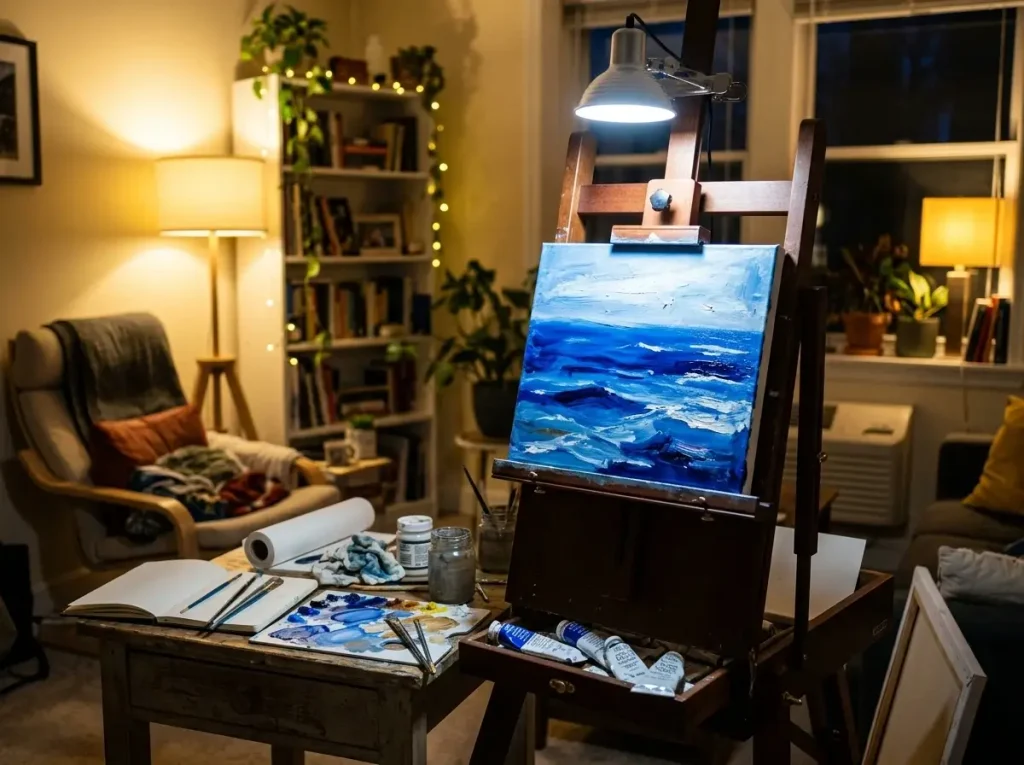
A major hurdle when building a small apartment art studio is dealing with the terrible lighting fixtures installed by your landlord. Most rental units are outfitted with warm, yellow-tinted bulbs designed to make a living room feel cozy.
While warm light is great for relaxing on the couch, it is completely disastrous for a fine artist. If you paint under standard apartment lighting, you will be in for a nasty shock when you finally take your canvas outside into the sun.
The Science of Color Accuracy
To understand why your paints look wrong, you have to look at how light interacts with pigment. Warm yellow light artificially shifts every color on your canvas, acting like a built-in filter.
Your cool blues will suddenly look muddy and green, while your pure titanium whites will appear heavily tinted.
To avoid this in your small apartment art studio, you must upgrade your bulbs based on two critical metrics: color temperature and color rendering.
First, look for a color temperature between 5000K and 6500K. This specific range accurately simulates natural midday daylight, providing a neutral baseline for mixing.
Second, you need to pay close attention to a bulb’s Color Rendering Index (CRI). This is a scientific scale that measures how accurately a light source reveals the true colors of an object compared to natural sunlight.
For professional-level mixing, you need bulbs with a CRI rating of 90 or higher. If you are unsure how to read the packaging on consumer light bulbs, the U.S. Department of Energy provides excellent guidelines on Color Rendering Index (CRI) to help you decode the labels.
Renter-Friendly Fixtures
Of course, being a renter means you cannot simply rip out the ceiling fan to install professional studio track lighting. You have to find creative, plug-and-play solutions to illuminate your small apartment art studio without touching the internal electrical wiring.
One of the most effective and affordable solutions is a simple photographer’s clamp light. You can easily attach these lightweight aluminum fixtures directly to the top mast of your easel or onto a nearby tension rod shelf.
A common mistake is aiming a bright daylight bulb directly at a glossy wet canvas, which creates a blinding glare. Instead, try bouncing the clamp light off a white ceiling or a nearby white wall.
This diffuses the intensity and creates a soft, even wash of artificial daylight across your entire worksurface.
If clamping is not an option, invest in an adjustable gooseneck LED floor lamp. Position the lamp slightly behind you and to the side of your dominant hand.
This setup floods your canvas with high-CRI daylight while preventing your hand and brush from casting dark shadows over your wet paint.
Finally, if your small apartment art studio occupies a corner of a multi-use living room, consider upgrading to high-end smart bulbs in your existing floor lamps.
Smart LED bulbs allow you to shift the room’s color temperature from a crisp 5500K while you are painting, back down to a cozy 2700K when you are hosting guests.
By mastering these temporary lighting hacks, your small apartment art studio will produce gallery-accurate colors at any hour of the night, completely drill-free.
6. Safe Ventilation and Waste Disposal in a Small Apartment Art Studio
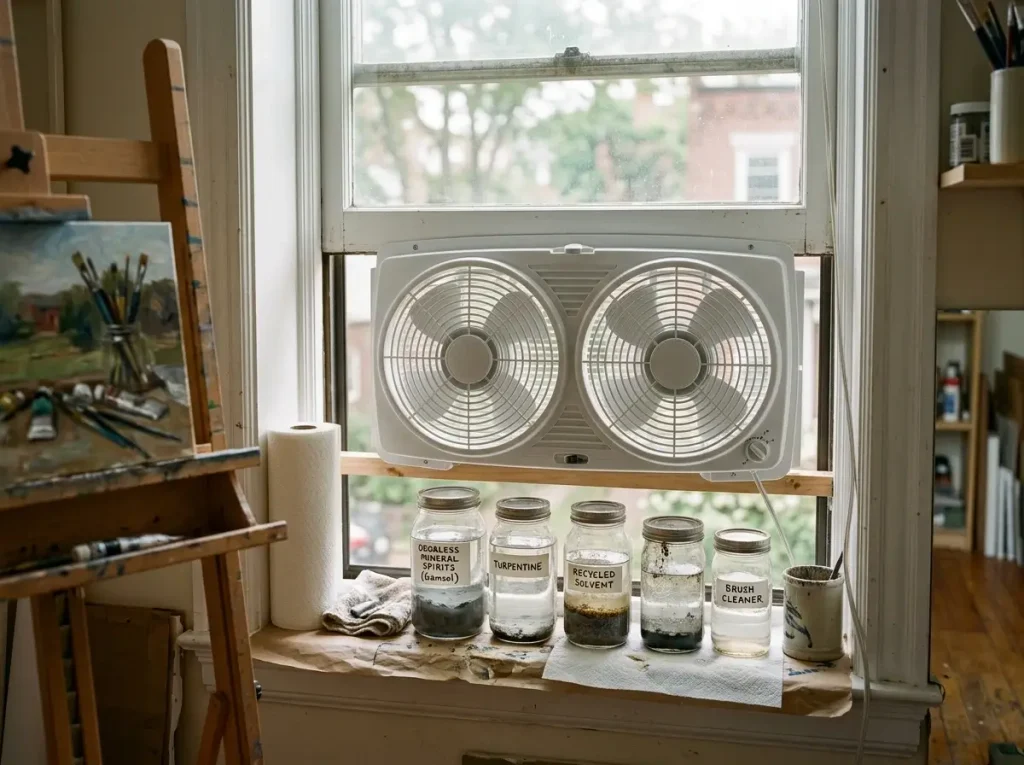
Setting up a small apartment art studio brings hidden responsibilities that go far beyond aesthetics and floor plans.
While accidental spills and paint splatters are visible threats to your security deposit, the most critical hazards in a fine art space are actually the ones you cannot easily see.
Improper air circulation and irresponsible plumbing habits can cause severe health issues for you, and catastrophic, expensive pipe damage for your landlord.
Managing Fumes
If you are working with traditional oil paints, you are likely using volatile solvents like turpentine or odorless mineral spirits to thin your mediums and clean your brushes. Similarly, charcoal and pastel artists frequently rely on aerosol spray fixatives to seal their final work.
Using these chemical products inside a sealed small apartment art studio is incredibly dangerous.
The toxic fumes displace oxygen in small rooms, causing dizziness, chronic headaches, and long-term respiratory damage.
Remember: “odorless” mineral spirits do not mean harmless—it simply means the warning smell has been chemically removed, making proper ventilation even more critical.
Because you cannot cut a hole in the landlord’s drywall to install a commercial exhaust hood, you need a temporary, renter-friendly solution. The most effective method is a dual window-fan system.
Place an adjustable, twin-blade window fan in the closest window to your easel. Set one blade to pull fresh outdoor air into the room, and set the other blade to forcefully exhaust stale indoor air out.
This creates an active cross-breeze that pulls toxic vapors directly away from your face without permanently altering the window frame. Always run this fan during your session and leave it on for at least an hour after you finish painting.
The Right Way to Clean Brushes
A fully functioning small apartment art studio generates a surprising amount of chemical and physical waste. A common mistake renters make is treating their bathroom or kitchen sink like an industrial utility basin.
You can absolutely never wash liquid acrylic paint, heavy clay residue, or oil solvents directly down a rental sink.
Acrylic paint is essentially liquid plastic; as it cures inside the P-trap of your plumbing, it hardens into an impenetrable blockage that will require a professional plumber to extract.
Furthermore, even “non-toxic” student-grade paints contain heavy metals and binders that wreak havoc on municipal water treatment systems.
The “Do Not Pour Down the Drain” List: To protect the plumbing in your small apartment art studio, memorize this strict disposal list:
- Acrylic wash water: Let the dirty water evaporate in a bucket outside or on a balcony, then peel the dried plastic residue out and throw it in the trash.
- Clay slip: Allow the heavy sediment to settle at the bottom of a bucket, pour off the clear water on top, and scoop the heavy clay sludge into the garbage.
- Turpentine and mineral spirits: Keep them in a sealed glass jar. The heavy paint solids will eventually sink to the bottom, allowing you to pour off and reuse the clean solvent at the top.
When your solvent jar is completely full of toxic sludge, or you have accumulated a collection of highly flammable oil-soaked rags, you must follow the law.
You cannot throw these volatile items into the standard apartment dumpster. Instead, follow the official guidelines for the safe disposal of hazardous household waste established by the federal government.
This usually involves dropping the sealed containers off at a designated local municipal waste facility.
By respecting the air you breathe and the plumbing hidden inside your walls, you ensure your small apartment art studio remains a safe, healthy, and legally compliant space.
Conclusion
Building a small apartment art studio doesn’t require major renovations or risking the wrath of your landlord.
By strategically claiming a well-lit corner, investing in heavy-duty floor mats, and utilizing vertical, drill-free storage, you can create a highly functional space that respects your lease agreement.
Remember, the key to a sustainable home studio is flexibility. Focus on compact easels that can be tucked away, and prioritize safety through proper ventilation and 10 DIY Small Craft Room Ideas: Renter-Friendly Flex Spaces that keep toxic materials organized.
Your next step? Take some masking tape and mark out a potential 4×4 foot footprint near a window today. You might have more room for your art than you realize.