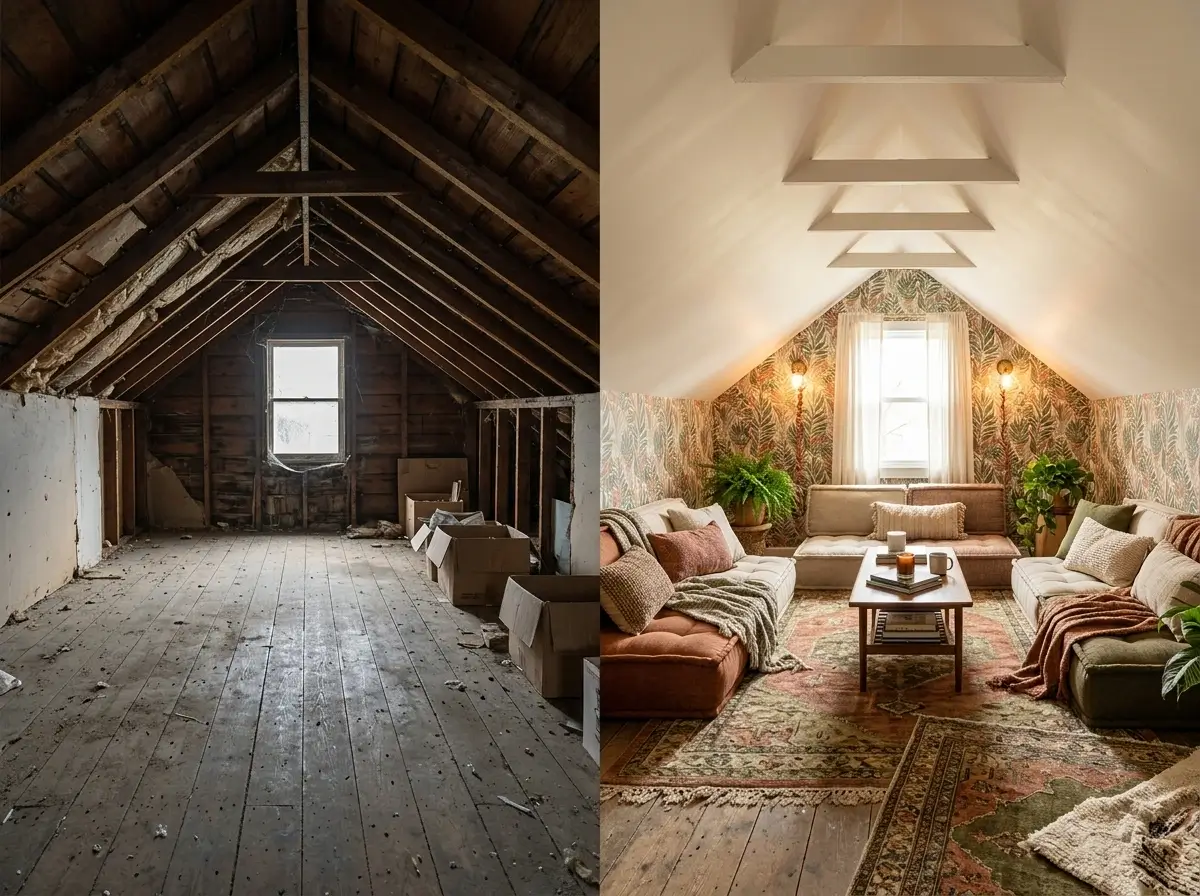
Moving into a top-floor rental often means inheriting a quirky, unfinished-looking space. You want that dramatic small attic conversion before and after, but as a renter, you cannot knock down walls, add dormers, or install hardwood floors.
Fortunately, you don’t need a sledgehammer to completely change how a room feels.
A common mistake renters make is accepting a dusty, awkward layout simply because they aren’t allowed to drill.
By relying on clever visual tricks, temporary flooring, and strategic zoning, you can create a stunning makeover that packs up easily when your lease ends.
In this guide, we will walk through six drill-free steps to execute your own transformation.
From assessing your initial layout to adding plug-and-play lighting, you will learn exactly how to maximize your slanted ceilings and awkward eaves without risking your security deposit.
The “Before” Stage: Assessing Your Attic Rental Safely
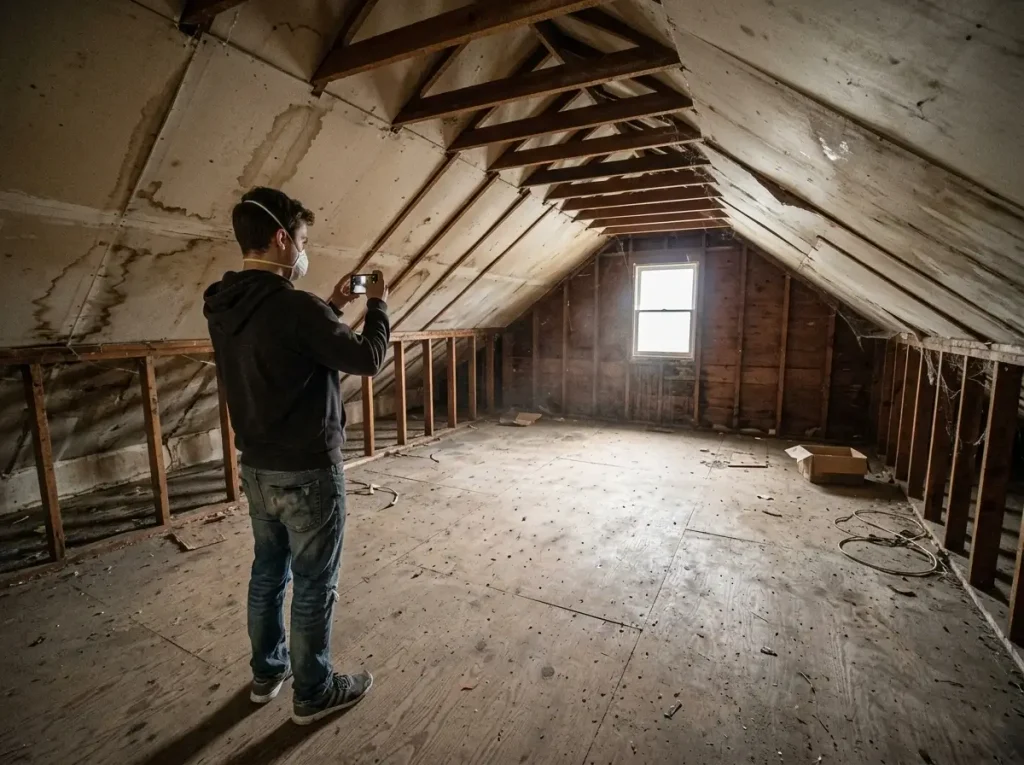
Before you start shopping for furniture or hanging peel-and-stick wallpaper, you need to know exactly what you are working with. Every successful small attic conversion before and after begins with a thorough, honest assessment of the raw space.
Top-floor rentals often come with unique architectural quirks that lower levels simply do not experience. You might be dealing with lingering dust, uneven plywood subfloors, or surprisingly stuffy air trapped at the top of the house.
Taking the time to evaluate your unfinished space ensures your final design is both visually beautiful and safe to inhabit.
Documenting the “Before” for Your Landlord
When moving into a quirky rental, protecting your security deposit must be your first priority. Before you bring up a single box or roll out a rug, walk through the empty room and take detailed photos of every single corner.
Pay special attention to existing scuffs on the low knee walls, faint water marks on the slanted ceilings, and the exact condition of the flooring. Documenting these structural details is a crucial first step in any small attic conversion before and after project.
Send these photos to your landlord in a dated email to establish a clear, indisputable baseline. This way, when it is time to pack up and move out, no one will blame you for cosmetic damage that was already there.
Once your documentation is secure, it is time for a serious deep clean. Unfinished or rarely used eaves are notorious for collecting thick dust, stubborn cobwebs, and mystery debris over the years.
Grab a heavy-duty vacuum with a brush attachment and a damp microfiber cloth, and wipe down every surface from the highest ceiling peak down to the baseboards. It is often wise to wear a basic dust mask during this step to avoid inhaling years of buildup.
Starting with a pristine, dust-free slate makes the entire small attic conversion before and after process much more rewarding and enjoyable.
Airflow and Safety Checks
After the dust settles, you must turn your attention to how the room physically feels and functions. Attic spaces trap rising heat and can suffer from terribly stagnant air, especially if the dormer windows are small or painted shut.
Checking for proper airflow and safe egress points is an absolutely non-negotiable step for any renter. You need to know exactly how you would exit the top floor quickly in an emergency.
If you are unsure where to begin with safety protocols, especially when evaluating basic rental apartment layouts, always prioritize leaving clear, wide pathways to your primary door and window.
You must also take a moment to evaluate the room’s electrical situation. Top-floor rentals frequently lack enough grounded outlets, which will heavily dictate where you can safely place fans, lamps, or air purifiers.
Finally, assess the overall indoor air quality before you plan to spend hours relaxing or working in your new loft. Stuffy, poorly ventilated eaves can hold onto allergens and musty odors that you definitely do not want to breathe in daily.
For a healthy, breathable living environment, it is highly recommended to review authoritative guidelines on indoor air quality to understand exactly what warning signs to look out for.
Sometimes, simply running a high-quality HEPA air purifier in the corner and keeping a small window cracked can completely transform how the room breathes.
Never skip this foundational evaluation phase. Taking air quality and layout safety seriously ensures your stunning small attic conversion before and after is not just a visual triumph, but a space that is genuinely comfortable to live in year-round.
Temporary Flooring for Your Small Attic Conversion Before and After
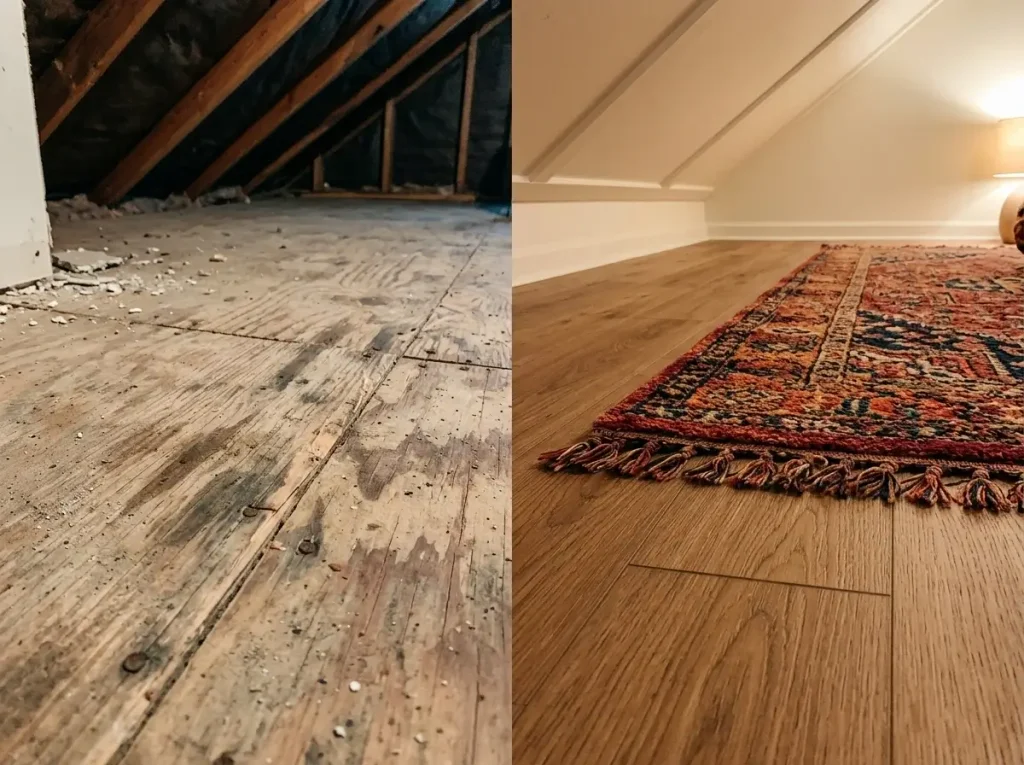
The foundation of a breathtaking small attic conversion before and after almost always starts from the ground up. In many top-floor rentals, you are likely inheriting unfinished plywood, scuffed linoleum, or a heavily stained landlord-special carpet.
Because you cannot simply tear up the floor or nail down new hardwood, you have to get creative with temporary covers.
Changing the flooring is the single most impactful visual upgrade you can make in a rental space. It immediately shifts the room from feeling like a dusty storage unit to a deliberate, cozy living area.
Let’s explore the best drill-free ways to completely hide your rental floors without losing your security deposit.
Interlocking Floor Systems
If you are dealing with hard, unfinished surfaces like bare plywood or painted concrete, interlocking floor tiles are your best friend. Creating that magical small attic conversion before and after moment requires covering up those dusty floorboards without using nails or glue.
Today’s market offers incredibly realistic vinyl and high-density foam tiles that snap together like a giant puzzle.
These floating floor systems simply rest on top of the existing surface. They are lightweight, easy to cut with a utility knife to fit around awkward attic support beams, and require absolutely zero adhesive.
When your lease is up, you simply pull them apart and pack them into boxes. They also add a slight layer of thermal insulation, which is a massive bonus in drafty top-floor apartments.
The Power of Layered Rugs
If your rental comes with wall-to-wall carpet that you desperately want to hide, layering large area rugs is the smartest approach.
You will immediately see your small attic conversion before and after taking shape when you unroll a vibrant, oversized textile over that stained rental carpet.
- Choose lightweight materials: Attic stairs are notoriously narrow and steep. Opt for flat-weave cotton or washable synthetic rugs that you can easily fold and carry up the stairs, rather than heavy, rigid jute rugs.
- Layer strategically: Place a large, neutral base rug down first, then angle a smaller, more colorful rug on top of it to define a specific sitting or sleeping area.
- Secure the edges: Because layered rugs can easily bunch up and create tripping hazards, use renter-friendly double-sided carpet tape to stick the edges firmly to the existing flooring.
Safety Around Heating Elements
When laying down temporary floors or oversized rugs, you must pay strict attention to the room’s heating and cooling systems. Attic spaces often rely on low baseboard heaters or floor vents to regulate extreme temperatures.
Never block a floor vent with an interlocking tile, and never let an area rug drape over a baseboard heater.
Failure to maintain proper clearance is a severe fire hazard. Before placing any textiles near a heat source, always review the standard clearance requirements for space heaters to ensure your layout is compliant and safe.
Nailing the flooring setup sets the perfect stage for a safe, beautiful small attic conversion before and after that you can easily pack up when your lease ends.
Drill-Free Wall Upgrades for a Stunning Small Attic Conversion Before and After

Have you ever stared at the blank, slanted walls of your top-floor rental and felt completely stuck? The rules of renting usually mean no paint, no nails, and definitely no drilling into those awkward architectural quirks.
However, achieving a stunning small attic conversion before and after requires bringing life, color, and texture to those very surfaces.
The good news is that modern renter-friendly decor has evolved dramatically. You no longer need a hammer and nails to inject personality into your space.
By relying on clever adhesives and tension-based systems, you can completely disguise boring drywall or dingy paneling.
Let’s explore how to safely upgrade your slanted rooflines and vertical spaces without risking a single cent of your security deposit.
Removable Wallpaper Tactics for Low Knee Walls
One of the defining features of an attic layout is the presence of short, vertical knee walls where the ceiling slope meets the floor. Leaving these bare can make the room feel like a sterile storage box.
Applying high-quality peel and stick wallpaper to these low walls is a game-changer. It instantly grounds the room and creates a high-impact small attic conversion before and after without the permanence of paint.
- Choose light, bright colors: Dark walls absorb light, making tight spaces feel smaller. Opt for bright, airy patterns that reflect natural light and create a much-needed ceiling height illusion.
- Focus on the vertical drop: You do not need to wallpaper the slanted ceiling itself, which is incredibly difficult to do smoothly. Just wrapping the short vertical knee walls provides a stunning pop of color.
- Prep the surface: Always wipe down the wall with a damp cloth before applying the paper. Dust acts as a barrier, and your wallpaper will inevitably peel at the corners if the wall isn’t squeaky clean.
When it is time to move, you simply peel the paper away. It is the ultimate temporary cosmetic fix for frequent movers.
Tension Rod Fabric Walls
Sometimes, you need to soften the harsh angles of the room or hide ugly, unfinished storage alcoves. This is where heavy-duty tension rods become the unsung heroes of your small attic conversion before and after.
Instead of drilling curtain rods into the drywall, lodge a sturdy tension rod between two facing eaves or across a dormer window alcove.
You can drape lightweight linen, sheer curtains, or colorful tapestries across these rods. This creates beautiful tension rod room dividers that section off the space or hide cluttered storage zones.
The flowing fabric dramatically softens the rigid, triangular architecture of the attic, making it feel intentional and incredibly cozy.
Damage-Free Art Displays
Finally, no room is complete without art, but slanted ceilings make traditional picture hanging nearly impossible. You have to pivot your strategy to utilize damage free wall hanging solutions.
Heavy-duty command strips for art are perfect for securing lightweight, acrylic-framed prints flat against slanted ceilings. Because they use a dual-lock Velcro system, they can hold surprisingly well on angles when applied correctly to clean surfaces.
By introducing peel and stick patterns, flowing fabrics, and safely mounted art, the visual impact of the room completely shifts. You will look at your small attic conversion before and after photos and barely recognize the bland, empty box you started with.
Strategic Zonal Layouts to Maximize Awkward Eaves
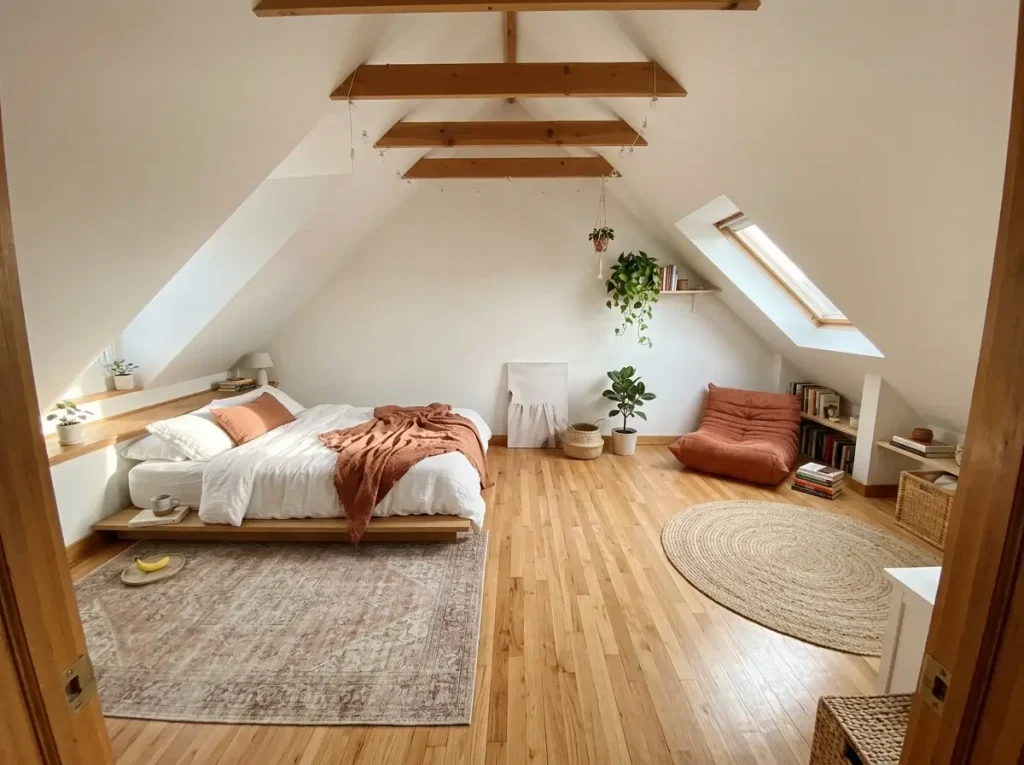
A huge part of any successful small attic conversion before and after relies on how you physically navigate the newly decorated room. When you rent a top-floor space, the slanted ceilings dictate exactly where you can comfortably stand, sit, and sleep.
If you try to force a standard, boxy apartment layout into an attic, you will end up constantly bumping your head.
The secret to making these quirky spaces work is embracing the architecture rather than fighting it. You must thoughtfully divide the open square footage into distinct, functional zones.
Let’s look at how to arrange your renter-friendly furniture to maximize flow, safety, and visual appeal.
Defending Your Headroom
The golden rule of attic living is incredibly simple: keep the center of the room entirely open. The highest peak of the roofline is your most valuable real estate because it allows for full, upright standing clearance.
By leaving the middle lane completely clear of furniture, you create a natural, safe walkway from the top of the stairs to the opposite end of the room. A stunning small attic conversion before and after always prioritizes safe, comfortable movement above all else.
To keep that center walkway open, you must push your furniture outward into the angled corners. Place your low-profile seating, floor cushions, and platform beds into the deeper eaves where the ceiling dips low.
Because you are already sitting or lying down in these specific spots, you simply do not need the full ceiling height.
When you push your low-profile seating into the deeper eaves, your small attic conversion before and after begins to look like a deliberate, cozy design choice rather than an awkward compromise.
Visual Dividers for Open Plans
Attic rentals are usually one large, uninterrupted room. Without interior walls, a long, narrow space can easily feel like a vacant bowling alley. To fix this, you must rely on strategic zoning to carve out specific living areas.
Using floating rugs is one of the easiest, drill-free ways to visually separate a sleeping area from a lounge area.
For example, placing a round, heavily textured rug under a small reading chair instantly creates a cozy, dedicated reading corner. Just a few feet away, a large rectangular rug can anchor your platform bed, silently signaling to the brain that it is a separate, private zone.
Creating a cohesive flow between these distinct areas connects the whole space without making it feel cluttered.
By the time you define these different zones, your small attic conversion before and after will have completely transformed a once-awkward room into a highly functional, multi-purpose loft.
Arranging a single open space takes patience and a little trial and error, especially when working with low ceilings.
If you are struggling to map out your rental, exploring comprehensive techniques for maximizing tiny floor plans will give you the foundational design theories you need.
Nailing the basic floor plan ensures you get the absolute most out of every single square foot of your top-floor retreat.
Plug-in Lighting That Makes Your Small Attic Conversion Before and After Pop
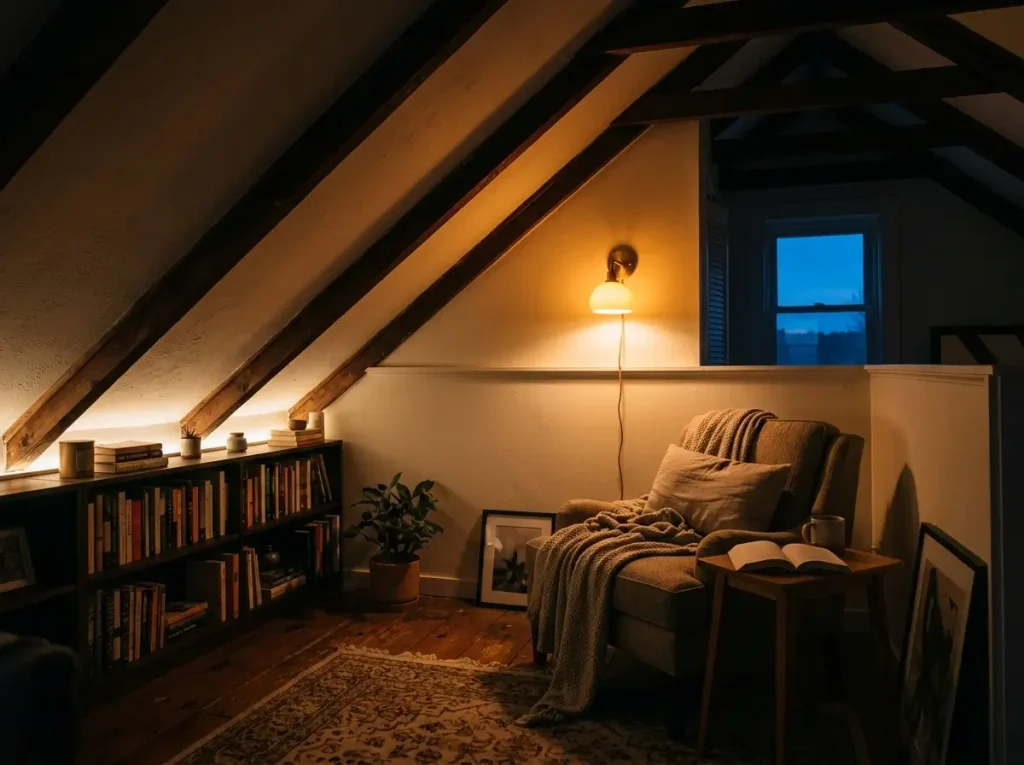
Lighting is often the most neglected element of a rental upgrade, yet it holds the most transformative power.
A true small attic conversion before and after relies on mastering ambient lighting, especially when you are dealing with deep, dark eaves and tiny dormer windows.
Because you are renting, cutting into the drywall to hardwire new light fixtures is entirely out of the question.
Fortunately, you do not need an electrician to create a beautifully lit space. By layering strategic, plug-and-play lighting solutions, you can completely disguise the gloomy shadows that plague most top-floor apartments.
Let’s explore how to brighten up those awkward angles safely and efficiently.
Swapping Landlord Fixtures
The easiest place to start is with the lighting that is already there. Often, attic rentals feature a single, glaring overhead light or, worse, a bare bulb hanging from a dusty fixture.
Leaving these harsh landlord bulbs in place will instantly ruin the cozy vibe you are trying to build. Swapping them out for softer, warmer smart bulbs is a completely drill-free upgrade that takes less than five minutes.
Smart bulbs allow you to control the color temperature directly from your phone, letting you shift from a crisp, energizing daylight tone for working, to a warm, amber glow for winding down at night.
Because attics are prone to overheating, you must be mindful of the heat your new bulbs generate.
When making the swap, it is highly recommended to review authoritative choosing energy-efficient LED bulbs guidelines to ensure your selections remain cool to the touch and safe for enclosed fixtures.
This simple, renter-friendly swap instantly elevates your small attic conversion before and after from a sterile storage space into a deliberate, inviting retreat.
The Magic of Plug-in Sconces
Once the overhead glare is managed, you need to bring light down to human eye level. This is where plug-in wall sconces become absolute lifesavers.
You can find beautiful, high-end looking sconces that plug directly into a standard wall outlet. Instead of drilling them into the drywall, you can mount lightweight models using heavy-duty adhesive strips directly onto your flat knee walls.
Placing a matching pair of plug-in sconces on either side of your bed or framing a small reading nook adds instant architectural charm. It provides crucial task lighting exactly where you need it, without a single hole in the wall.
Creative Floor and Strip Lighting
To finish your lighting design, you must tackle the deepest, darkest corners of the eaves. Running LED strip lights along the back edge of your modular furniture or directly along the floorboards creates a soft, modern glow.
This “floating” lighting effect visually pushes the walls outward, making the tight floor plan feel significantly larger.
Finally, bounce light off the ceiling using low-profile floor lamps tucked into the corners. Aiming light upward is a classic interior design trick to visually lift low, slanted ceilings, cementing that stunning small attic conversion before and after reveal.
By layering these drill-free light sources—overhead smart bulbs, adhesive wall sconces, and ambient floor lighting—your small attic conversion before and after will glow with warmth and intentionality, completely hiding the fact that it is just a temporary rental.
The Final “After” Reveal: Styling with Modular Renter Furniture
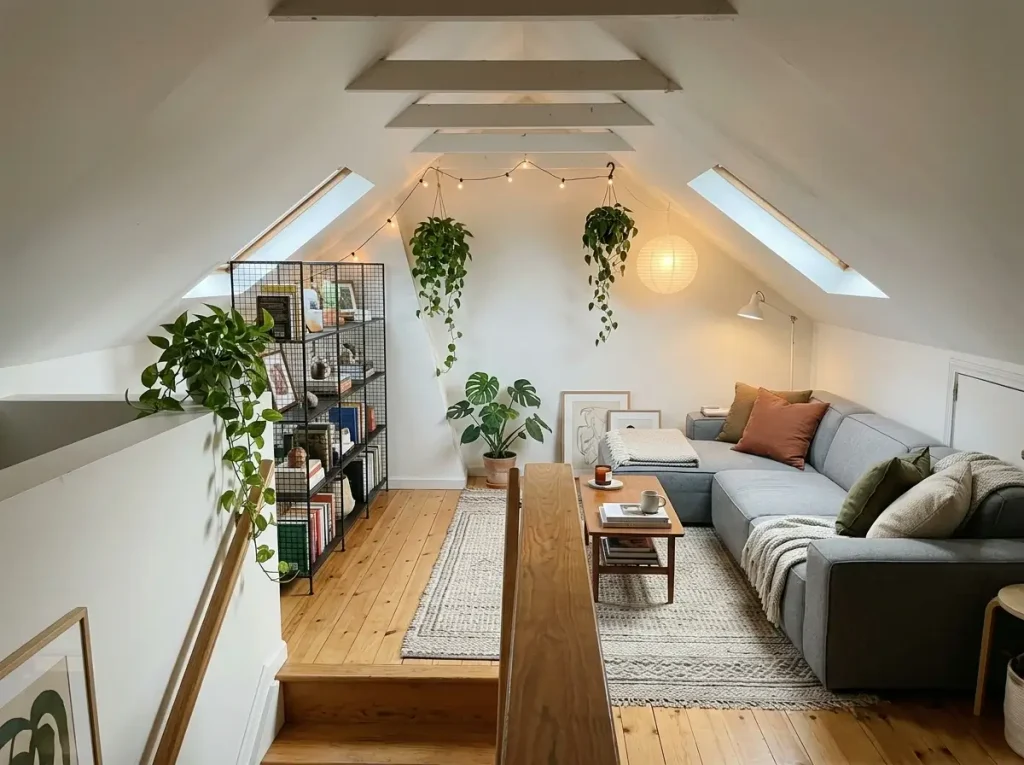
You’ve cleaned the space, laid down temporary flooring, and set up your plug-in lighting. Now it is time for the most exciting part of your small attic conversion before and after: the final styling.
Bringing in the right furniture is what ultimately transforms an empty, slanted box into a highly functional living area.
However, because you are renting a top-floor unit, you cannot just buy heavy, traditional furniture. You need pieces that are modular, safe, and easy to pack up when your lease inevitably ends.
Let’s look at how to cross the finish line with your makeover.
Selecting Flat-Pack Pieces
The biggest logistical challenge of any top-floor rental is the staircase. Attic stairs are notoriously narrow, steep, and difficult to navigate.
If you buy a solid oak dresser or a fully assembled sleeper sofa, you might not even get it through the front door.
To ensure a stress-free small attic conversion before and after, you must prioritize flat-pack, lightweight furniture. Look for modular seating that comes in separate boxes, wire shelving units that assemble without tools, and platform bed frames that fold down in half.
When shopping for your renter-friendly pieces, keep these specific features in mind:
- Tool-free assembly: Saves time and frustration when you eventually have to pack up and move out.
- Open frames: Wire or thin metal frames allow light to pass through, reducing visual bulk in tight corners.
- Multi-purpose function: Look for storage ottomans or beds with built-in drawers to maximize utility without taking up extra floor space.
These lightweight pieces not only make stair transport a breeze, but they also keep the visual weight of the room airy and open.
Heavy, blocky furniture will quickly overwhelm a small space with low ceilings. By selecting streamlined, modular designs, your small attic conversion before and after will look modern and intentionally minimalist.
Finally, do not forget to add life to the space. Bringing in low-light, easy-care plants—like pothos or snake plants—instantly breathes fresh energy into those awkward corners. Greenery is a classic renter’s secret for making a temporary space feel like a permanent, well-loved home.
Safe Furniture Anchoring
Even though your modular furniture is lightweight, safety remains incredibly important. Slanted ceilings often push furniture away from the walls, making freestanding shelves and dressers more prone to tipping over if bumped.
Many renters skip anchoring their furniture because they are terrified of drilling holes in the landlord’s drywall.
Fortunately, you can secure your pieces using heavy-duty, renter-friendly tension straps that adhere to the wall with damage-free adhesive strips.
It is absolutely crucial to follow authoritative safe furniture anchoring guidelines to ensure your setup is secure, especially if you have pets or frequent guests.
Once your furniture is safely anchored and styled, do a final walkthrough of the room. Stand at the top of the stairs and compare the view to the photos you took on day one.
A beautiful small attic conversion before and after relies heavily on keeping the newly defined zones tidy and free of clutter.
If you find that you still have too many loose items floating around your clean aesthetic, focus on implementing drill-free organizational systems to hide your belongings inside those deep, awkward eaves.
Congratulations on your completed makeover! Your top-floor rental is now a safe, stylish, and highly functional retreat.
Conclusion
Executing a small attic conversion before and after doesn’t require a construction crew, a massive budget, or a homeowner’s title.
By focusing on the visual layers—like temporary flooring, peel-and-stick wall treatments, and strategic plug-in lighting—you can completely overhaul a dusty rental.
The key is working with your slanted ceilings rather than fighting them. Push your low-profile modular furniture into the eaves, keep your walkways clear, and always prioritize renter-friendly, damage-free adhesives.
Ready to tackle the rest of your awkward floor plan? Dive into our main guide on clever loft design fundamentals to keep optimizing your top-floor retreat. Take it one step at a time, and you’ll have a cozy, personalized space before your lease is up.